Insert drill bits are becoming increasingly popular among DIY enthusiasts and professionals alike, as they offer a great way to create neat, precise holes. But what exactly are insert drill bits and why should you choose this type over other models? In this article, we’ll take an in-depth look at the unique features and potential applications of insert drill bits to help you better understand which one is right for your next project.
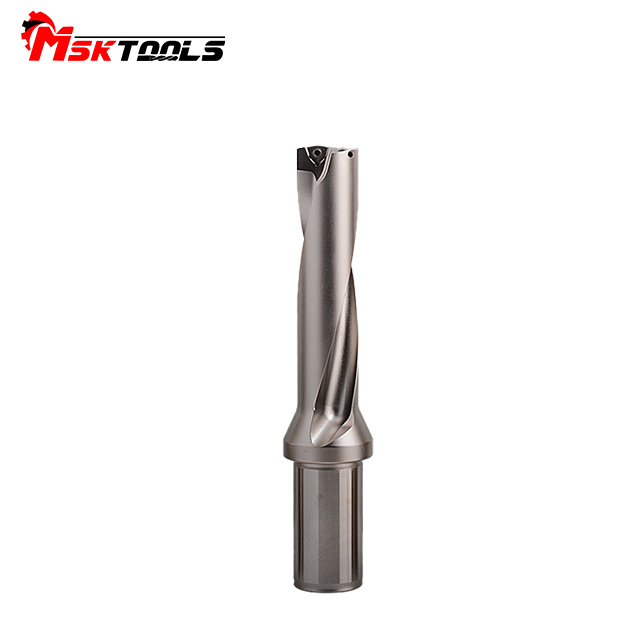
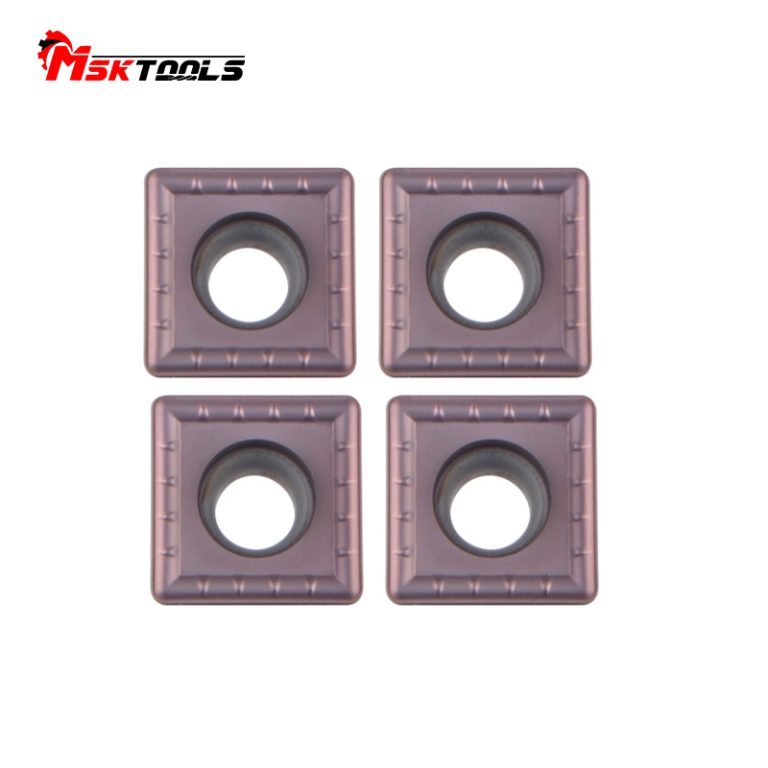
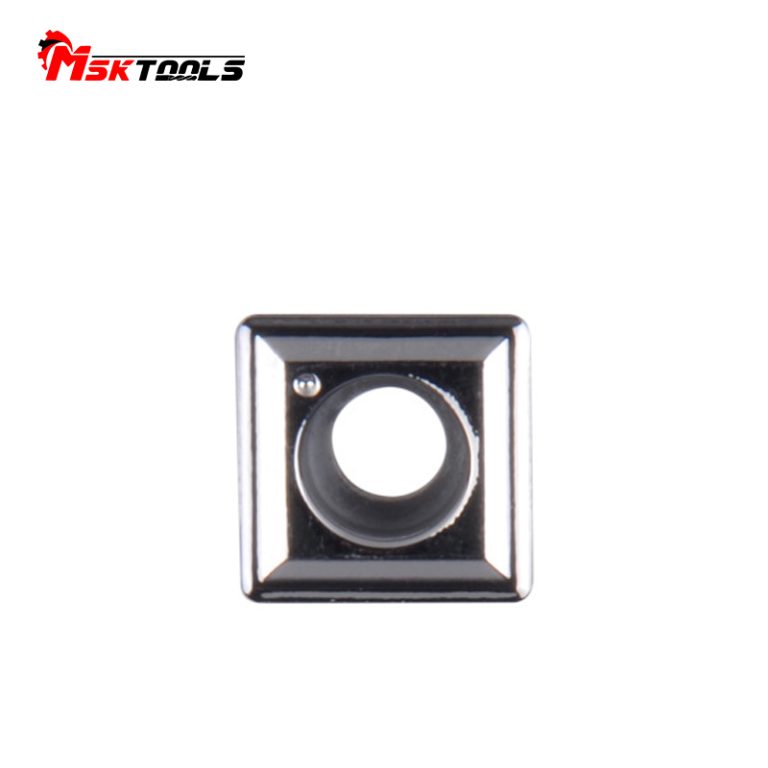
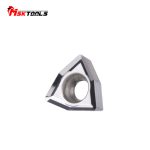
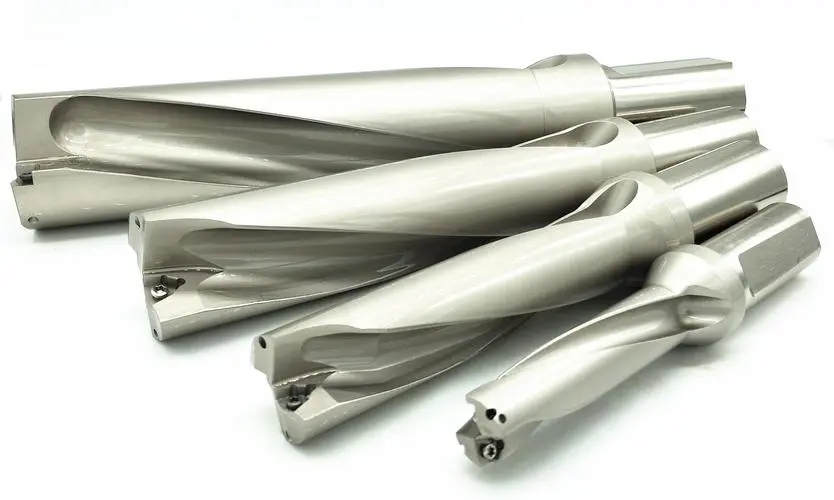
Insert drill bits are a standout from other drill bits due to their interchangeable cutting edges, or inserts. Whether constructed from high-speed steel (HSS) or carbide, these inserts can be quickly exchanged should they become dull or suffer damage. This not only provides a cost-effective solution over the life of the drill bit, but it also affords users consistent cutting performance.
Working with a drill bit requires some preparation prior to use. Gather all the necessary tools and materials, including compatible inserts, a wrench to secure them, and safety equipment like goggles and gloves. While using the drill bit, your safety should be top priority.
To get started, place the designated insert into the applicable area of the drill bit. Secure it firmly with a wrench to guarantee a snug fit. Depending upon the type or design of the product, specialized directions provided by the producer may need to be complied with. Be sure to read over any and all instructions included in the user manual of the drill bit.
After you have safely inserted your tool, you can get to the job of drilling. Take note of the size of hole you need to make in the material and mark the spot where you plan on boring. To guarantee stability and accuracy while performing the task, it is recommended to initiate with a smaller drill bit creating a short pilot hole.
Utilizing the pilot hole as a guide, you can now move on to using the insert drill bit. To begin, line up the drill bit with the pre-drilled hole and apply a steady downward pressure. It is then time to operate the drill at its suitable speed. Carefully lower the insert bit, allowing it to penetrate the substrate in a controllable way.
When using insert drill bits, the operational speed is pivotal. Working at an accelerated pace can lead to accelerated wear of the insert and a drop in its cutting performance. Conversely, going too slowly could cause too much friction and heat, potentially impairing the inserts or even the drill bit itself. Refer to your drill bit’s manual for the recommended speeds to reach a perfect balance.
To ensure optimal cutting in harder substances such as metal or concrete, it’s wise to occasionally pull out the drill bit. Doing this serves to rid of any debris that may have amassed and aids in preventing the bit from becoming jammed or too hot.
Insert drill bits offer unbeatable advantages when it comes to drilling projects. Versatility, cost-effectiveness and consistent performance ensure that you get the job done with minimal effort. However, knowing how to use them safely and accurately is key to maximize their potential. Following the manufacturer’s instructions coupled with practice will help you become a master in no time. Always prioritize safety when using insert drill bits and you’ll be on track for success.
A Comprehensive Guide to Using Insert Drill Bits Like a Pro
Utilizing Insert Drill Bits in Just 544 Words
Drilling holes is an integral part of numerous activities, from DIY tasks to professional jobs. To achieve top-notch and efficient results, it is imperative to understand the right way to handle tools like an insert drill bit. In order to assist you in this endeavour, we have put together a helpful guide on how to use an insert drill bit like an expert. Walk with us through this process and attain excellence in your projects.
Prep Your Station: Collect Necessary Tools and Protective Gear
Ensure that all the necessary materials and safety equipment is ready to go before you begin drilling. This includes an appropriate drill bit, a power drill – either a hand or press model, any necessary clamps, protective eyewear, and ear guards for your ears. Additionally, you should have the applicable workpiece secured in place beforehand.
Getting the Job Ready: Setting up the Workpiece and Fastening it in Place
For your project, select the workpiece that is suitable and fasten it securely. Whenever a clamp is used, the positioning must be precise to prevent unsupported movement when drilling. Taking these precautions guarantee correct hole placement and guard against potential risks.
Identifying the Ideal Drill Bit for Your Project
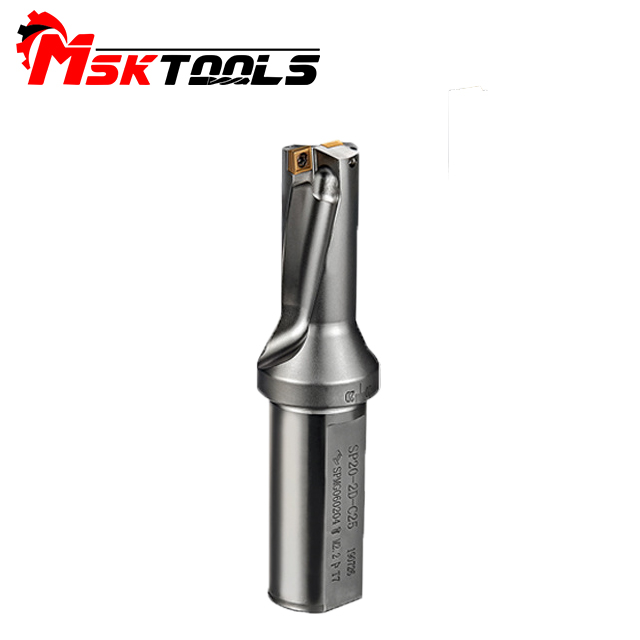
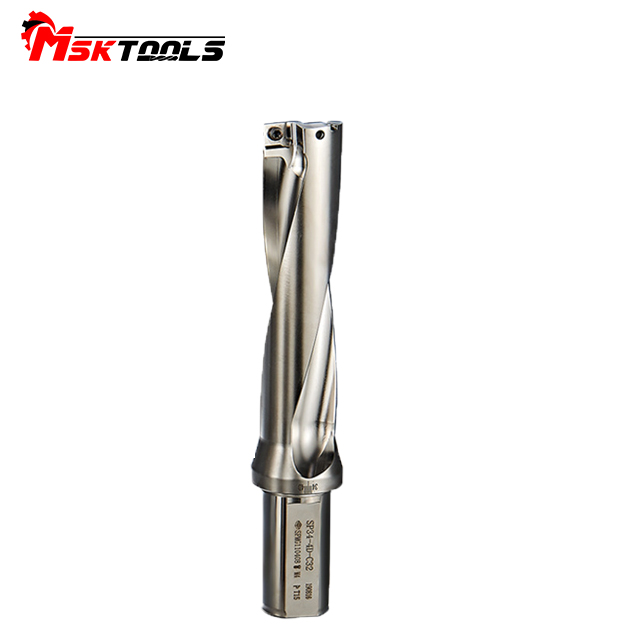
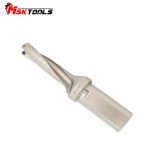
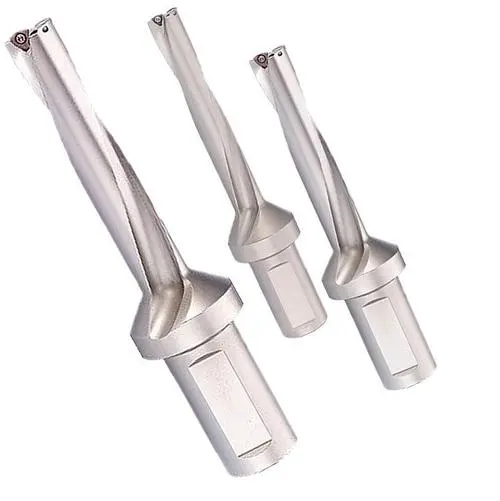
Selecting the right kind of insert drill bit for your project is essential to ensure the desired result – from drilling deep, narrow holes to more shallow, wide ones. Consider the material of your workpiece, the drilled hole’s diameter and depth, and the type of drill bit shank (hexagonal, round, etc.) when hunting for the best suited insert drill bit. With various sizes and materials to choose from have at hand, find the ideal one today!
Introducing the Drill Bit into the Chuck: Step 4
Before you start drilling, you must ensure the drill bit is securely held in position. Open the chuck by rotating the head counterclockwise and sweetly slide the bit inward, making sure it is properly aligned. Tighten the chuck by gently twisting clockwise, checking if the shank is reliably stable to prevent wobbling during drilling.
Measure the Desired Speed and Penetration to Complete Step Five
Depending on the material you’re working with, you will need to make sure that the speed of your drill press or hand drill is adjusted accordingly . Generally, when working with soft materials such as wood or plastic, it’s best to use a faster speed. Conversely, for harder materials like metal, a slower speed is typically recommended . Additionally, take note of the drilling depth you require and make sure that it’s set with the help of the depth gauge or depth stop on your drill.
Commence the Boring Process: Step 6
In order to successfully drill into the desired location on a workpiece, the drill bit must be put in place perpendicularly. The drill should be started up and lightly applied pressure should be used – too much force or strain on the bit could cause it to break or generate unsatisfactory holes. When drilling, keep a steady pace and let the drill do the work; however, it’s wise to take pauses in between to remove any chips or debris that builds up as a result of drilling.
Finalizing and Reviewing
Once you have achieved the targeted depth with your drill, slowly raise the bit from the hole then shut off the drill. Inspect the hole for precision, depth and fineness; if need be, eliminate any remaining residues using either a brush or compressed air.
Having the right tools on hand and understanding the basics of insert drill bit use ensures successful projects, every time. Secure the workpiece and select your bit with care – make sure your choice properly suits your needs. Adjust speed and depth according to your project, then drill carefully with steady force. Follow these directions closely to consistently attain great technical results.